How to Sharpen a Kitchen Knife at Home (Without Ruining It)
A dull knife is the most dangerous tool in your kitchen. It slips, it crushes instead of slices, and it makes you push harder right toward your fingers. I’ve spent ten years testing kitchen gear in my Portland kitchen, and the question I get most often isn’t “which knife should I buy” — it’s “how do I sharpen the one I already have without wrecking it.” This post contains affiliate links; if you buy through them I may earn a small commission at no extra cost to you. I only recommend gear I actually use.
The good news: sharpening a kitchen knife at home is genuinely easy once you understand one distinction that trips up almost everyone. Let’s start there, because getting it wrong is exactly how knives get ruined.
Honing vs. Sharpening: The Difference That Saves Your Knife
These two words get used interchangeably, and they shouldn’t be. Sharpening removes metal to grind a new edge — you do it occasionally, when the blade is genuinely dull. Honing removes no metal at all; it just straightens the microscopic edge that rolls over with daily use. You do it constantly.
Think of the cutting edge as a thin ribbon of steel. Cutting on a board bends that ribbon slightly to one side. A honing rod nudges it back to center, so the knife feels dull but really just needs realigning. Sharpening is for when the ribbon is actually worn down and no amount of straightening brings the bite back. Most people sharpen far too often and hone far too little — and every unnecessary sharpening grinds away steel your knife will never get back.
The Three Tools, Honestly Compared
There are three common ways to put an edge back on a knife at home, and they are not equal.
The whetstone (also called a water stone) is what most professional cooks reach for. You drag the blade across an abrasive stone at a set angle, and it removes a controlled, even amount of metal. It produces the sharpest, longest-lasting edge of any method, and it works on any knife at any angle you choose. The trade-off is a short learning curve and about ten minutes of your time.
The honing rod (the long steel rod that comes with most knife blocks) isn’t a sharpener at all — it’s a maintenance tool. Used right, it keeps an already-sharp knife performing between sharpenings. It will not rescue a truly dull blade, and a lot of frustration comes from people expecting it to.
The pull-through sharpener is the plastic gadget with carbide slots you drag the knife through. It is fast and nearly foolproof, which is its whole appeal. But it sheds a lot of metal and forces the blade to whatever fixed angle the slots were built for — so it sharpens quickly while quietly shortening your knife’s life. Fine for a beater knife; I’d never put a knife I cared about through one.
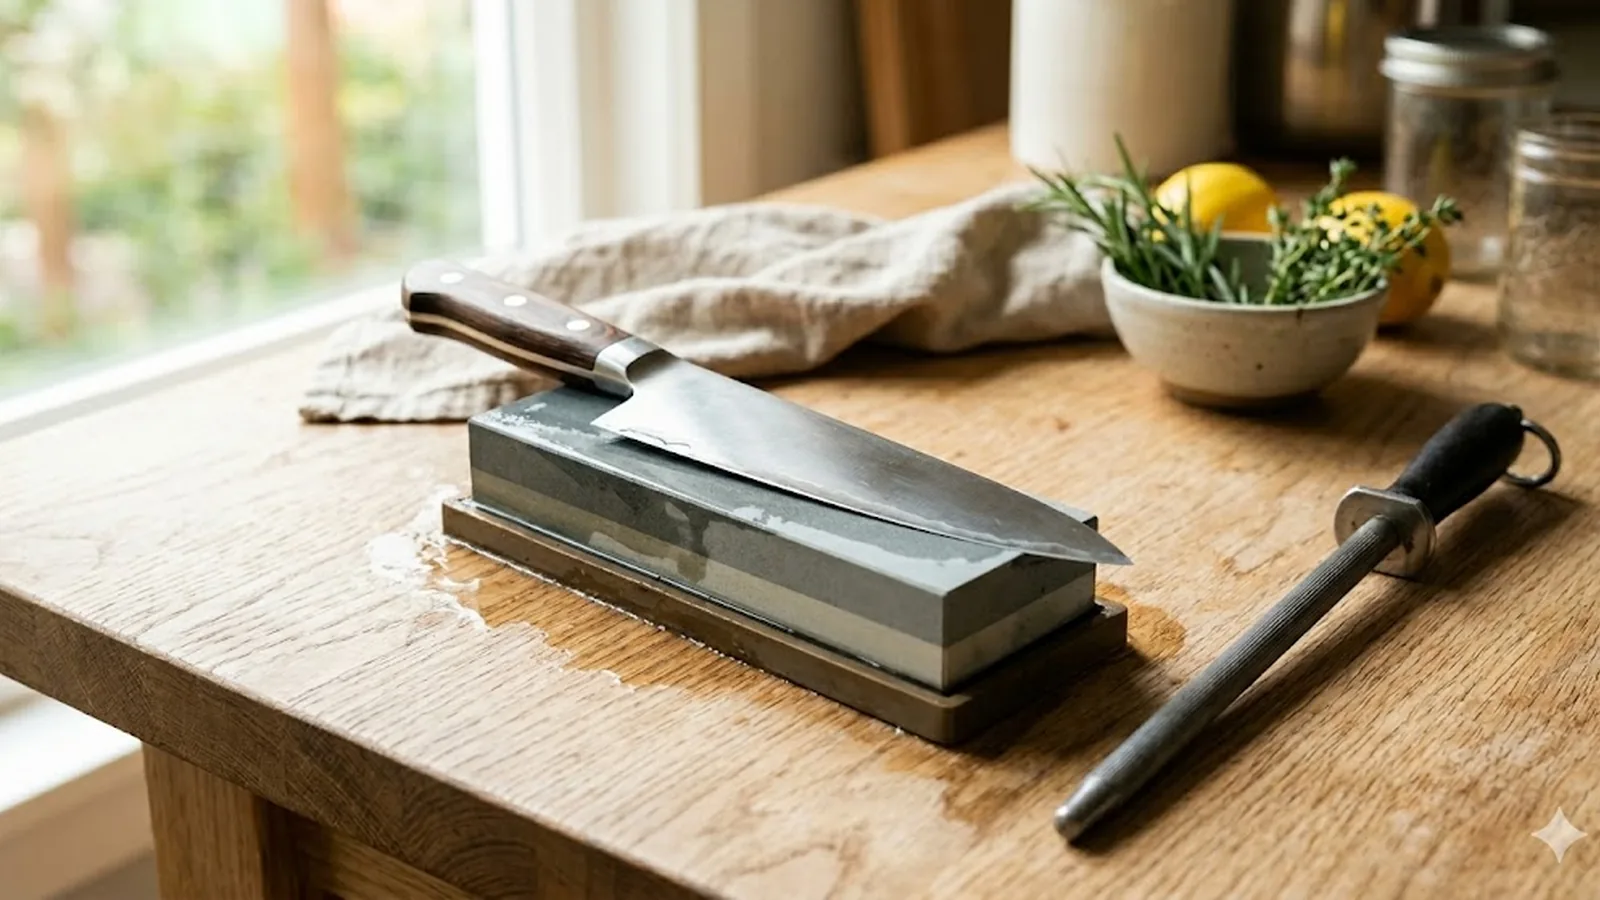
How to Sharpen on a Whetstone, Step by Step
This is the chef’s method, and it’s simpler than it looks. Here’s exactly how I do it:
- Soak the stone. Submerge a water stone for about 10 minutes, until the bubbles stop. The surface should stay wet the whole time you work.
- Start with the coarse side. A 1,000-grit surface does the actual sharpening; the 6,000-grit side polishes afterward.
- Set your angle. Hold the blade at a consistent angle to the stone (more on the exact number below) and keep it there. Consistency matters more than the precise degree.
- Push, don’t saw. Slide the blade away from you across the stone as if shaving a thin layer off the top, edge leading. Use light, even pressure and cover the whole length of the blade.
- Feel for the burr. After several passes on one side, run a fingertip off the back of the edge (never along it). A faint rough lip — the burr — means you’ve sharpened enough on that side. Flip and repeat until you raise a burr on the other side.
- Polish and finish. Switch to the fine grit and make a few light passes per side to remove the burr and refine the edge. Wipe the knife, and test it on a sheet of paper — a sharp knife slices cleanly without tearing.
That’s the entire process. The first time takes fifteen minutes and feels fiddly; by the third time it’s a five-minute habit. For the wider routine of keeping every tool in your kitchen in shape, my complete guide to kitchen tool care covers storage and cleaning that keep edges lasting longer.
Finding Your Angle: German vs. Japanese
The single most-Googled sharpening question is “what angle?” The honest answer depends on your knife. Western-style knives — German brands like Wüsthof and Henckels — are built around a roughly 20-degree edge per side. Japanese knives (gyuto, santoku) are typically ground thinner, around 15 degrees, which is part of why they feel so keen and also why they’re more delicate.
If you don’t know your knife’s origin, 20 degrees is a safe default for almost any stamped Western kitchen knife. A simple trick: 20 degrees is about the angle of two stacked quarters under the spine of the blade. This is exactly where pull-through sharpeners fall short — they grind every knife at one fixed angle, so a thin Japanese blade gets reshaped to a blunter Western geometry whether you want it or not.
How to Hone Between Sharpenings
Honing is the thirty-second habit that means you’ll rarely need to sharpen. Hold the rod tip-down on the counter, set the blade near the top at the same angle you’d sharpen at, and draw it down and across the rod in a sweeping motion — heel to tip — alternating sides for four or five strokes each. Light pressure; you’re guiding, not grinding. I do this before most cooking sessions, and it keeps my everyday chef’s knife feeling freshly sharpened for months at a stretch.
The 4 Mistakes That Actually Ruin Knives
- Sharpening when you only needed to hone. Every grind costs steel. If a few honing strokes bring the edge back, stop there.
- Changing the angle mid-stroke. A wobbling wrist rounds the edge instead of sharpening it. Lock your angle and move from the shoulder, not the wrist.
- Leaning on a pull-through sharpener. Used monthly it’s convenient; used weekly on a good knife it’ll eat the blade down within a couple of years.
- Putting good knives in the dishwasher. Heat, detergent, and knocking against other items dull and chip edges faster than anything you’ll do on a cutting board.
What I Actually Keep on My Counter
After testing a drawer’s worth of sharpening gear, this is the short list I reach for. None of these is expensive, and between them they cover everything most home cooks need. (If you’re still building out your kit, these pair well with the picks in my tested kitchen gadgets guide.)
Sharp Pebble Premium Whetstone (1000/6000 Grit)

This is the stone I recommend to anyone starting out. The dual 1,000/6,000 grit covers both sharpening and polishing, the bamboo base keeps it from sliding, and the included plastic angle guide takes the guesswork out of your first few sessions. It’s water-based, so no messy oils — just a ten-minute soak and you’re going. The honest con: the included angle guide is a training-wheels accessory that scratches and wears over time, and serious users will outgrow it within a few months. By then you won’t need it anyway.
Utopia Kitchen 12-Inch Honing Rod
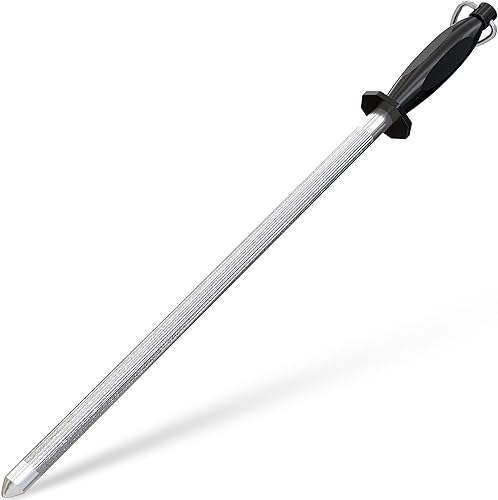
A honing rod is the cheapest upgrade to your knife’s everyday performance, and this 12-inch one does the job without the premium price of brand-name steels. The length comfortably handles a full chef’s knife, and the hanging hook keeps it within reach. The honest con: it’s a standard steel rod, not a fine ceramic — it realigns beautifully but won’t add the tiny bit of micro-sharpening that ceramic rods give. For maintaining an already-sharp edge, that’s all most cooks need.
KITCHELLENCE 3-Stage Pull-Through Sharpener

I include this one because it’s the right tool for a specific job: a quick edge on a cheap utility knife, or for someone who genuinely won’t ever learn a whetstone. Three stages let you repair, sharpen, and polish, and the included cut-resistant glove is a thoughtful touch. The honest con: the fixed-angle slots remove a lot of metal and don’t match every blade geometry, so I’d keep this away from any knife you’ve invested in. Use it on the knives you don’t mind replacing.
Frequently Asked Questions
How often should I sharpen a kitchen knife?
For a home cook, a true sharpening once or twice a year is usually plenty — if you hone regularly. Honing is the frequent habit; sharpening is the occasional reset.
Can you ruin a knife with a whetstone?
Only by being careless. The two ways people go wrong are using an inconsistent angle (which rounds the edge) and over-sharpening when honing would have done. Go slow, keep your angle steady, and a whetstone is the gentlest method there is.
Are pull-through sharpeners bad for knives?
They’re not “bad” so much as aggressive. They remove more metal than necessary and use a fixed angle, so occasional use on everyday knives is fine while frequent use on quality knives shortens their life.
What angle should I sharpen at?
About 20 degrees per side for Western knives, around 15 degrees for Japanese knives. If you’re unsure, 20 degrees is the safe all-purpose default.
Sharpening your own knives is one of those small skills that pays off every single time you cook. Once you can put a clean edge back on a blade in five minutes, you’ll wonder why you put up with dull knives for so long. And if you’re rethinking your whole setup, my kitchen upgrade guide walks through what’s worth investing in first — while my cast iron seasoning guide covers the other maintenance habit every home cook should master.