12 Kitchen Hacks Professional Chefs Use at Home
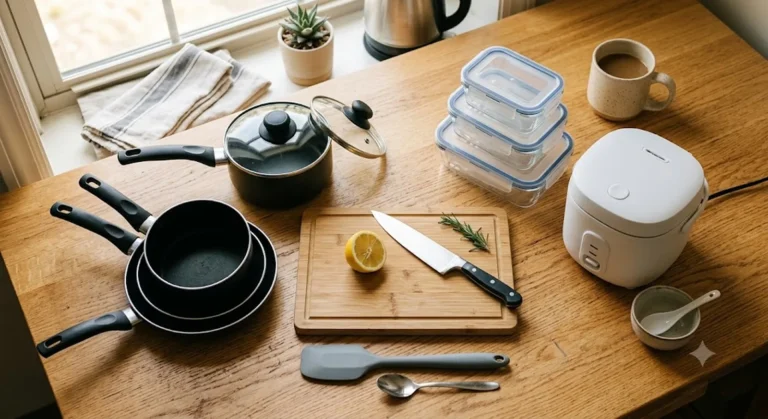
The difference between a home cook and a line cook rarely comes down to a fancy technique. It comes down to a dozen small workflow habits that have nothing to do with skill and everything to do with setup: where the salt lives, what’s already sliced before the pan gets hot, why the knife comes out before the stove does. These are the habits that keep surfacing when you look at how professional kitchens actually run and what experienced home cooks report once they adopt the same setup — not a single fancy gadget among them.
Disclosure: I only recommend gear that holds up across verified-purchase reviews, recurring complaint and praise patterns, and spec comparisons against similar tools. Some links below are Amazon affiliate links, which means I may earn a small commission at no extra cost to you.
What surprised me most is how few of these habits show up in recipe cards. A recipe tells you what to add and when; it almost never tells you to prep everything first, season at four different points instead of one, or let a knife rest against a honing rod before it touches a single vegetable. Those gaps are exactly where a home kitchen loses time and a professional one doesn’t.
Why Pros Cook Faster Without Rushing
Watch a line cook during a dinner rush and the thing that stands out isn’t speed — it’s the complete absence of wasted motion. Every tool is already in reach, every ingredient is already prepped, and nothing gets touched twice. Home cooks lose most of their time to the opposite problem: hunting for a spatula mid-sear, realizing the garlic isn’t chopped yet, wiping a cutting board because there’s nowhere to put scraps. None of the twelve habits below require culinary school. They just remove the friction between you and the food.
1. Build Your Mise en Place Before the Stove Turns On
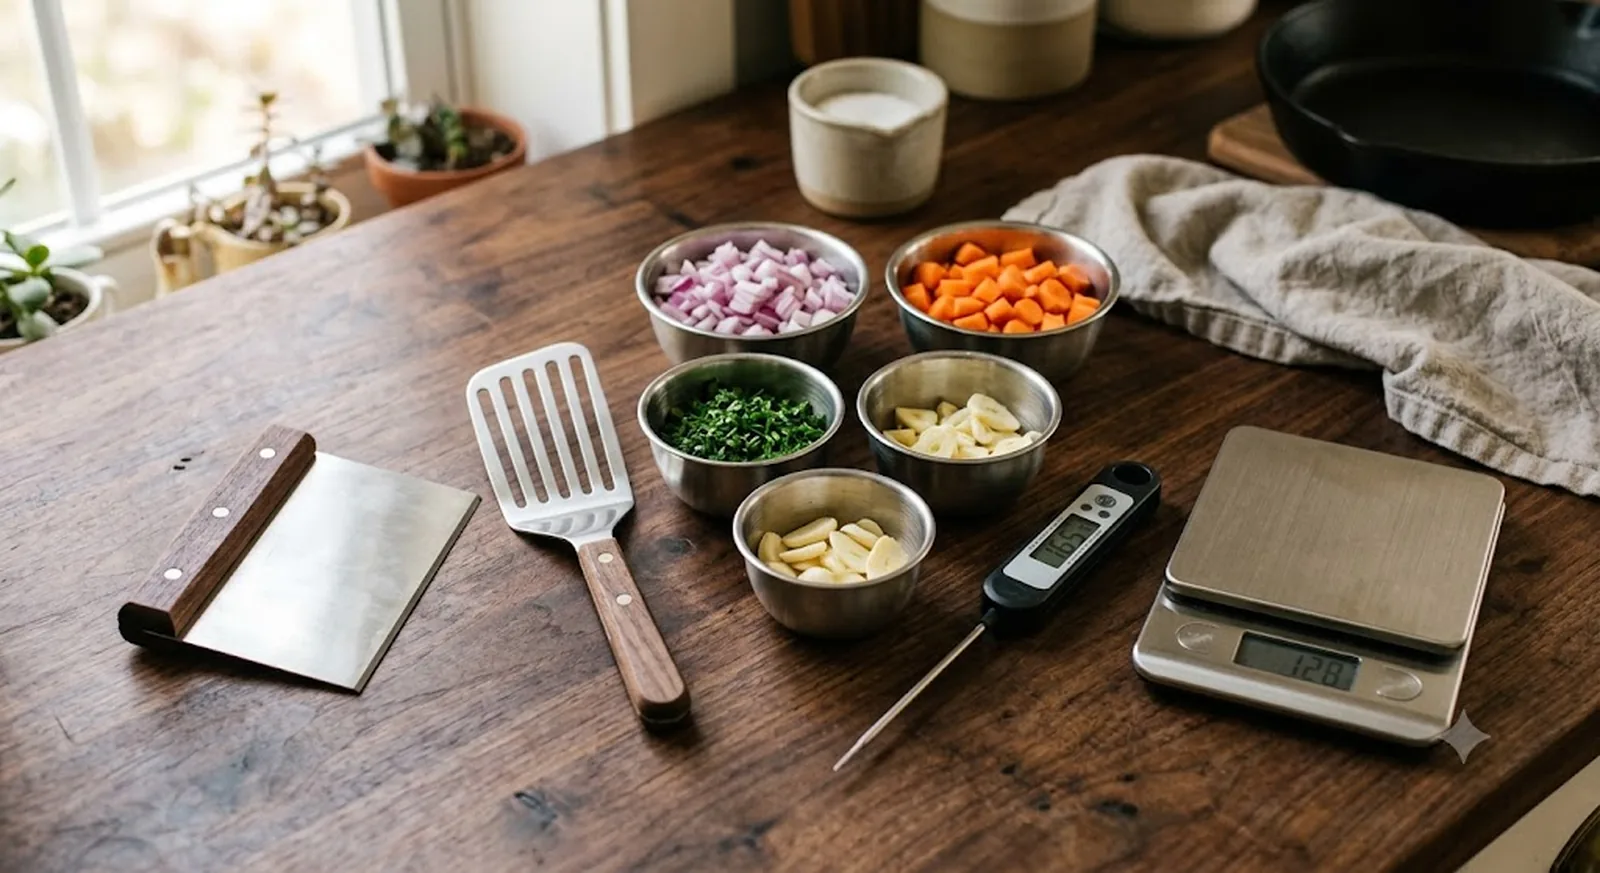
Mise en place — French for “everything in its place” — is the one habit every professional kitchen enforces without exception. Every ingredient is measured, chopped, and staged in small bowls before the heat goes on. Skip this at home and you end up stirring a browning onion with one hand while frantically mincing garlic with the other, and something always burns while you catch up.
The fix costs nothing but five extra minutes of prep. I portion everything — minced garlic, diced onion, pre-measured spices — into small bowls before I light the burner. It feels slow the first few times. Then a recipe that used to feel chaotic suddenly runs itself.
The other benefit is that mise en place makes it obvious when you’re missing an ingredient or a tool, while you can still walk to the store instead of discovering the gap with a pan already smoking on the stove. I treat the five minutes of prep as part of the recipe’s actual cook time, not a separate chore, and it changes how stressful a weeknight dinner feels.
OGGI Stainless Steel Pinch Bowls, Set of 4

These are the bowls that consistently come up as the go-to for mise en place setups. The lids mean spices can be prepped an hour ahead without drying out, and stainless steel doesn’t hold onion smell the way plastic prep bowls eventually do. The genuine con: four bowls is enough for a simple dinner but not for a recipe with ten components — if you cook elaborate meals often, you’ll want a second set.
2. Season in Layers, Not All at Once
Home cooks tend to salt a dish once, at the end, and hope for the best. Professional cooks season at every stage — the onions as they soften, the sauce as it reduces, the protein before it hits the pan — because each layer of food absorbs seasoning differently. Salt added only at the finish sits on top of the dish instead of running through it.
Taste as you go, every stage, every time. It sounds obvious written down, and it’s the single most-skipped step in home cooking. Keep a small dish of kosher salt within arm’s reach of the stove instead of a shaker buried in a cabinet, and seasoning in layers stops feeling like an extra task.
There’s a practical reason layered seasoning tastes different from a single dose at the end: salt added early has time to dissolve into the liquid released by vegetables or the fat rendering off meat, so it seasons the dish from the inside instead of sitting as a surface note. A dish salted only at the finish can taste correctly seasoned on the first bite and flat by the third, because the salt never had time to distribute.
3. A Bench Scraper Is Not Just for Dough
If you only pull out a bench scraper for bread, you’re using maybe a tenth of what it’s good for. Line cooks use it to transfer a whole cutting board of chopped vegetables into a pan in one motion, to scrape a board clean between ingredients without dragging a knife through it, and to portion soft dough or ground meat without a knife at all. It’s faster than a knife for most transfer jobs and won’t dull an edge doing it.
OXO Good Grips Multi-Purpose Scraper & Chopper

This is the tool that reviewers consistently say gets reached for more than any single knife. The blade is stiff enough to portion dough cleanly and wide enough to scoop a full board of diced onion in one pass, and the measurement markings on the blade are genuinely useful for dividing dough by weight. The genuine con: it’s a straight, stiff blade, so it can’t curve around a bowl the way a flexible plastic scraper can — keep a cheap silicone one for bowl-scraping duty and use this for the board.
4. Hone the Knife Before You Start, Not After It’s Dull
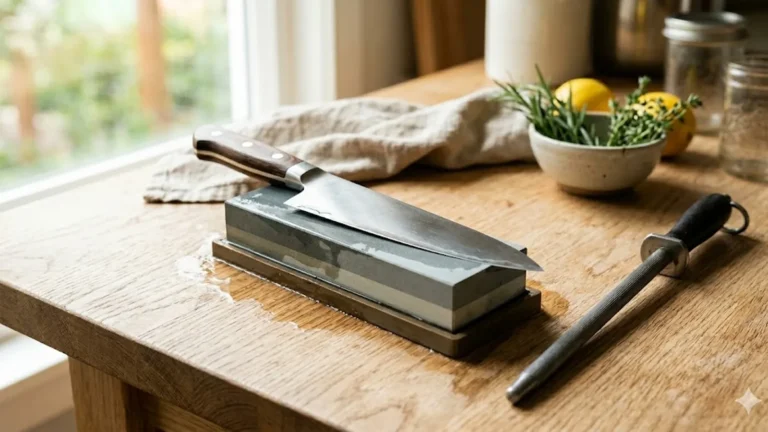
Line cooks run a knife across a honing rod before service even begins, not when the blade starts skidding off a tomato. A honing rod doesn’t sharpen anything — it realigns the microscopic edge that rolls out of true with regular use — and ten seconds of honing before you cook keeps a knife performing all the way through the session instead of degrading halfway through dinner prep.
I’ve written a full breakdown of why this matters and how it’s different from actually sharpening a blade in my guide to why knives go dull so fast. If you’ve never honed a knife before, my how to sharpen a kitchen knife at home guide walks through both honing and full sharpening step by step, and my knife skills guide covers the cuts worth practicing once your edge is where it should be.
5. Keep a Damp Towel Under the Cutting Board
A cutting board that slides while you’re chopping is a genuine safety problem, and it’s why professional kitchens fold a damp kitchen towel under every board before service. It costs nothing, takes five seconds, and stops the board from creeping across the counter the moment you apply any real pressure with a knife.
6. A Fish Spatula Is the Most Versatile Tool in the Drawer
Despite the name, a fish spatula rarely touches fish in a professional kitchen. The thin, flexible, slotted blade slides under a delicate fillet without tearing it, but it’s also the best tool for flipping pancakes without folding them, lifting a fried egg without breaking the yolk, and turning a seared steak without gouging the crust the way a thick, rigid turner does.
OXO Good Grips Slotted Fish Spatula
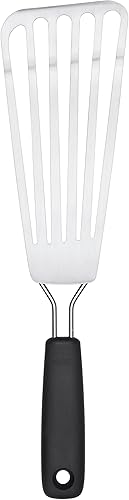
This is a tool owners keep within reach for almost every stovetop meal, not just fish. The blade flexes enough to slide under a delicate fillet or a fried egg without tearing it, and the slots let fat drain away instead of pooling on the plate. The genuine con: that thin, flexible blade isn’t built for heavy lifting — don’t reach for it to flip a thick burger or move a full grill of vegetables; keep a sturdier turner for those jobs.
7. Stop Guessing Doneness — Carry a Thermometer
Cutting into meat to check if it’s done lets the juices run out before the meat has even finished cooking, and pressing it with a finger is a skill that takes years to calibrate reliably. Professional kitchens lean on an instant-read thermometer instead of guessing, because a two-second internal reading is simply more accurate than touch or timing charts.
Lavatools Javelin PRO Classic Instant-Read Thermometer

This is a thermometer owners report relying on for years, with more than one battery replacement along the way and no drop in accuracy. The two-second read time means a piece of chicken can be checked without it sitting off the heat losing temperature, and the auto-rotating display means you never have to twist your wrist to read it. The genuine con: the probe isn’t leave-in, so it’s built for spot-checks rather than continuous monitoring — if you want to track a roast over hours, pair it with a separate leave-in probe.
8. Weigh Ingredients Instead of Measuring by Volume
A cup of flour can weigh anywhere from about 120 to 150 grams depending on how it’s scooped, and that swing is enough to throw off a bread or pastry recipe. Professional kitchens weigh almost everything for exactly this reason — weight doesn’t care how tightly the flour is packed. Once you start weighing, baking failures that felt random start making sense.
Etekcity Digital Kitchen Food Scale

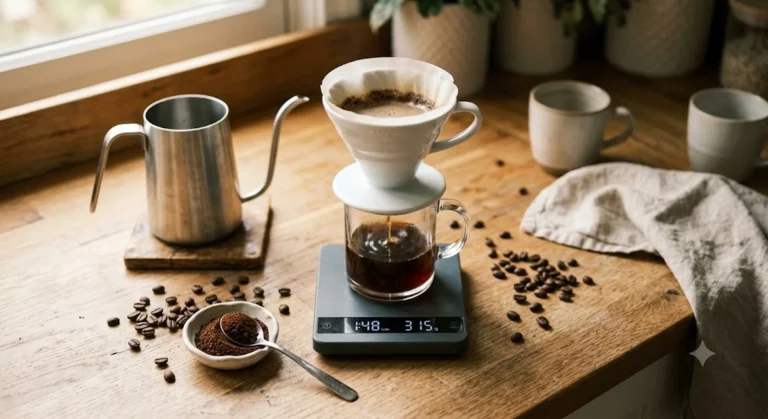
Keeping this scale on the counter instead of in a drawer is the trick reviewers point to for actually using one regularly. The tare function makes it easy to zero out a mixing bowl and add ingredients straight into it, and the stainless steel platform wipes clean in seconds. The genuine con: the display can be tricky to read at certain angles under dim kitchen lighting — not a dealbreaker, but worth knowing before you rely on it late at night.
9. Deglaze the Pan Before You Even Think About Washing It
Those browned bits stuck to the bottom of a pan after searing meat — the fond — are concentrated flavor, not a mess to scrub away. Splash in a little wine, stock, or even water while the pan is still hot, scrape with a wooden spoon, and you’ve got the base of a sauce in about ninety seconds. Rinsing that pan out under the tap without deglazing first is throwing away most of the flavor you just spent twenty minutes building.
10. Rest Meat Before You Cut Into It
Cutting into a steak or roast the moment it comes off the heat sends most of its juice straight onto the cutting board. As meat cooks, the muscle fibers tighten and push liquid toward the center; resting for five to ten minutes lets the fibers relax and reabsorb that moisture, so it stays in the meat instead of pooling on the plate. It’s the easiest change on this list and the one people skip most because the food smells done.
11. Clean as You Go — the One-Motion Rule
Professional kitchens run a “clean as you go” rule: a used bowl or utensil gets rinsed or put in the sink the moment it’s empty, not left to pile up. It’s not about tidiness for its own sake — a cluttered station is genuinely slower to cook in, because you lose counter space and end up hunting for a clean spoon mid-recipe. Reuse your pinch bowls from mise en place for washing as you empty them and dinner cleanup shrinks from twenty minutes to five.
12. Read the Recipe Twice Before You Touch an Ingredient
Every professional kitchen reads a ticket in full before starting it, because discovering step six requires an ingredient you haven’t prepped — or a pan that needs to be hot before step two — mid-cook is how dinner goes sideways. Read the whole recipe once for the big picture and once for details like resting times or oven preheating, and the rest of these habits click into place a lot more easily.
The 12 Habits at a Glance
If you only adopt three of these, make it mise en place, honing before you cook, and a thermometer — they cover the most common failure points in a home kitchen. Here’s the full list side by side with what each one actually costs you in time.
| Habit | Time cost | Biggest payoff |
|---|---|---|
| Mise en place | 5–10 min upfront | No burning while you catch up on prep |
| Layered seasoning | Seconds, several times | Flavor runs through the dish, not just on top |
| Bench scraper for transfers | None — replaces a slower step | Faster board-to-pan transfers, no dulled knife |
| Hone before cooking | 10 seconds | Consistent cutting all the way through prep |
| Damp towel under board | 5 seconds | A board that can’t slide while you cut |
| Fish spatula for everything | None | Delicate foods lift without tearing |
| Instant-read thermometer | 2 seconds per check | No more cutting meat open to guess |
| Weigh, don’t measure | Seconds per ingredient | Consistent bakes, no more “why did this fail” |
| Deglaze before washing | 90 seconds | A sauce base instead of wasted fond |
| Rest meat before cutting | 5–15 min (passive) | Juice stays in the meat, not on the board |
| Clean as you go | Seconds, continuously | Cleanup shrinks from 20 minutes to 5 |
| Read the recipe twice | 2–3 min upfront | No mid-recipe surprises |
Frequently Asked Questions
What’s the single biggest difference between home cooking and professional cooking?
Preparation, not skill. Professional cooks front-load almost all of their effort into mise en place — measuring, chopping, and staging everything before the heat goes on — so the actual cooking runs smoothly. Most kitchen chaos at home comes from prepping while cooking instead of before it.
Do I really need an instant-read thermometer if I already know how to check doneness by touch?
Touch works once you’ve calibrated it against hundreds of pieces of meat, which is exactly what professional cooks have done. For everyone else, a thermometer removes the guesswork in about two seconds and prevents both undercooked and overcooked results — it’s one of the cheapest ways to consistently improve dinner.
Is weighing ingredients only useful for baking?
It matters most for baking because ratios are unforgiving, but it’s also useful for portioning proteins evenly, scaling a recipe up or down accurately, and tracking ingredient costs if you cook in bulk. Once a scale lives on the counter, it tends to get used for more than you expect.
How long should meat actually rest before cutting?
Roughly five minutes for a thin cut like a chicken breast or pork chop, and closer to ten to fifteen minutes for a thick steak or a roast. As a rough guide, rest for about half the time the meat spent cooking.
Do I need to buy all five tools mentioned here to see a difference?
No. Mise en place, layered seasoning, deglazing, resting meat, and cleaning as you go cost nothing and matter more than any single tool. If you’re only adding one thing to your cart, an instant-read thermometer solves the most common home-cooking mistake — overcooked or undercooked protein — faster than anything else on this list.
The Bottom Line
None of these twelve habits require professional training, and most of them cost nothing at all — they’re workflow fixes, not techniques. Build your mise en place before the heat goes on, season in layers instead of once at the end, hone your knife before it needs it, and lean on a thermometer and a scale instead of guessing. Add a fish spatula and a bench scraper to your regular rotation and you’ll notice how much less friction there is between you and dinner. For the tools that keep performing once you own them, my full kitchen tool care guide covers the maintenance side of everything mentioned here.