4th of July Cookout Checklist: 25 Must-Have Tools I Never Grill Without
A great 4th of July cookout is 90% preparation and 10% actual grilling. The cookouts that go smoothly aren’t the ones with the fanciest new gadget — they’re the ones where the right small tools are within arm’s reach, so nobody has to run inside with greasy hands mid-cook. This post contains affiliate links, which means I may earn a small commission if you buy through them, at no extra cost to you, and it never changes what I recommend. Below is the checklist I’d hand any host for Independence Day: 25 tools grouped by station, with the six worth calling out in detail.
If this is your first time hosting, don’t panic and don’t overbuy. You need far less than the internet tells you. I’ve marked what’s truly essential, what’s a nice upgrade, and near the end, what you can safely skip for your first cookout. For the bigger-ticket decisions — the grill itself, a full tool set, a grill pan for vegetables — I’ll point you to the deep-dive guides I’ve already tested rather than repeat them here.
How I built this checklist
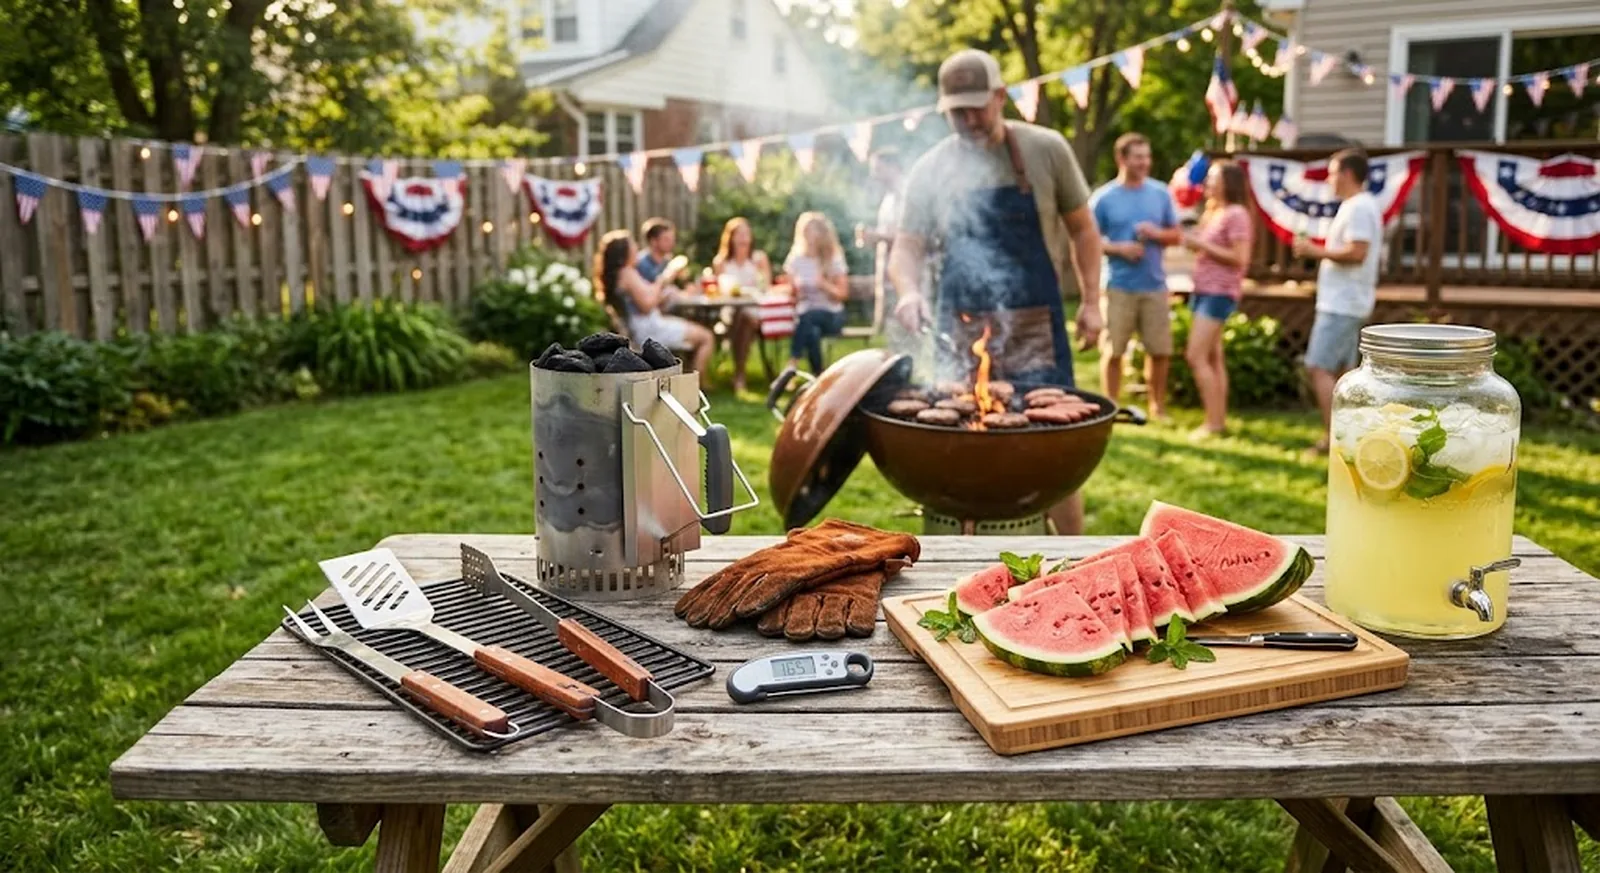
This isn’t a list brainstormed at a desk. It’s built around what consistently shows up as essential across grilling guides, owner reviews, and cookout tool roundups, organized around five simple stations: fire and fuel (getting heat going), the core grilling tools (moving food safely), temperature and safety (the part most hosts skip), prep (everything that happens before the grill), and serving, drinks, and cleanup (keeping the party going and surviving the morning after). If you cover all five, nothing catches you off guard. For a broader “setting up a kitchen from scratch” foundation, my kitchen essentials for a first apartment guide pairs well with this one.
Fire & fuel: getting the grill going
Nothing kills momentum like a grill that won’t light while your guests stand around hungry. If you run charcoal, the single best purchase you can make is a chimney starter — it lights coals faster and more evenly than lighter fluid, and it skips the chemical taste entirely. If you’re still choosing the grill or smoker itself, I walk through beginner-friendly options in my guide to the best pellet smokers for beginners.
Kingsford Heavy Duty Deluxe Charcoal Chimney Starter — Essential for Charcoal Cooks

The design is straightforward: stuff a couple sheets of newspaper in the bottom, fill the top with charcoal, light it once, and walk away — within about fifteen minutes you get a full load of glowing, ash-edged coals ready to dump. The large capacity is enough for a full kettle, the heat shield keeps the handle usable, and the vented base gets air moving so the coals catch fast and burn evenly. One honest caveat: it’s zinc-coated steel, so it’s worth running a quick empty burn the first time to cook off any coating smell before it’s near food, and storing it dry so it doesn’t surface-rust over winter. For the price of a bag of charcoal, it’s an upgrade that makes the whole day easier.
Round out this station with the fuel itself — a bag or two of quality lump charcoal or hardwood pellets — plus long fireplace matches or a butane lighter, and natural fire-starter cubes as a backup so you’re never stuck. Buy more fuel than you think you need; running out mid-cook is the classic July 4th mistake.
The core grilling tools
Once the fire’s going, you’re only ever as good as the tools in your hand. The non-negotiables are a solid pair of long tongs, a thin-edged spatula that slides under a burger without tearing it, and a basting brush for sauces in the last few minutes. Rather than buy those piecemeal, most people are better off with a matched set — I compared several in my roundup of the best BBQ tool sets for backyard grilling, so grab one there and check it off. What that set won’t include, and what I consider just as essential, is real hand protection.
GRILL HEAT AID Extreme Heat Resistant BBQ Gloves — Best Hand Protection

These are built for moving a cast-iron grate, adjusting a chimney starter, or pulling a rack off the coals without flinching. The aramid-fiber knit shrugs off serious heat, and unlike a folded dish towel, they cover the wrists — exactly where bare-handed grillers tend to get burned reaching over the fire. Owner reviews consistently note the grip holding up across repeated grilling seasons. The trade-off is dexterity: they’re thick, so most people take them off for anything fine like flipping delicate fish, and they’re not meant for wet, steamy tasks. For handling hot metal and moving coals, though, they earn their keep.
The other pieces in this station are cheap and easy to forget: a spray bottle of water for charcoal flare-ups, heavy-duty aluminum foil for wrapping and for making a quick drip tray, and a couple of disposable foil pans for holding cooked food off to the side. Have those on hand and you’ll never scramble.
Temperature & safety: the part most people skip
Here’s where a cookout gets separated from a good cookout. Eyeballing doneness is how burgers end up either raw in the middle or hockey-puck dry. A cheap instant-read thermometer removes all the guesswork, and it’s the tool I’d hand a first-time host before anything else.
Alpha Grillers Instant Read Digital Meat Thermometer — Best for Doneness
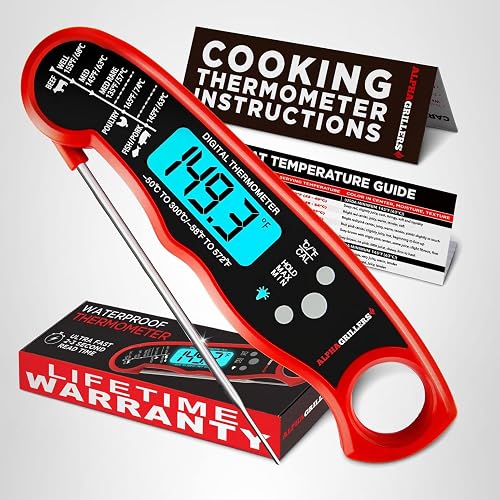
This thermometer reads in a couple of seconds, which matters when you’re leaning over a hot grill and don’t want to hold your hand there. The probe folds away, the backlight makes late-evening cooks easy to check, and it’s accurate enough to trust on everything from chicken thighs to a reverse-seared steak. The one real limitation: it’s an instant-read, not a leave-in probe, so it can’t be clipped into a roast and monitored from the kitchen — for that you’d want a wireless model. For spot-checking doneness at a cookout, it does exactly one job and does it well.
For reference, the USDA safe minimum internal temperatures I cook to are 165°F for chicken and other poultry, 160°F for ground beef and burgers, and 145°F with a three-minute rest for steaks, chops, and pork. Keep a small fire extinguisher or a box of baking soda near the grill for grease flare-ups, and set the grill well away from the house, the fence, and anything overhanging. That’s the whole safety station, and it takes five minutes to set up.
Prep station: everything before the grill
Most cookout chaos happens before a single thing hits the grate. If your prep is organized, the actual cooking is calm. My prep station is built around one large, sturdy surface, a set of nesting bowls, and a few small tools that keep raw and cooked food separate.
Hiware Extra Large Bamboo Cutting Board — Best Prep Surface

At 18 by 12 inches, this board leaves room to slice a watermelon, halve a stack of burger buns, and rest a couple of cooked steaks without a traffic jam. The juice groove around the edge is genuinely useful for corralling watermelon juice and resting-meat drippings so they don’t run onto the counter. Bamboo is hard enough to take real knife work but gentle on edges, and it’s built to hold up to repeated seasonal use. The catch is care: it’s hand-wash only and needs an occasional rub of mineral oil to keep it from drying and cracking — never let it soak or go in the dishwasher. Treat it right and it lasts for years. Pairing it with a second, smaller plastic board strictly for raw meat avoids cross-contamination.
Fill out the prep station with a set of nesting mixing bowls for salads and marinades, a sharp chef’s knife, a marinade or basting container, and a stack of clean kitchen towels. If you’re grilling vegetables or smash burgers, a good grill pan keeps small pieces from falling through the grates — I tested budget options in my guide to the best cast iron grill pans under $40.
Serving & drinks: keeping guests fed and hydrated
Once food starts coming off the grill, you want serving handled so you can keep cooking. That means large platters (one for raw going out, a clean one for cooked coming back — never the same plate), serving spoons and tongs for the sides, and a plan for drinks that doesn’t have you refilling cups all afternoon.
1-Gallon Stainless Steel Drink Dispenser with Spigot — Best for Drinks

A self-serve drink station is the quiet hero of any cookout — fill it with iced tea, lemonade, or water with cut fruit, and guests help themselves while the host stays at the grill. This stainless version stands out because it won’t shatter on a patio the way glass dispensers do, the spigot holds up as leakproof across owner reviews, and the lid seals tight enough to transport without a mess. The honest limitation is size: one gallon disappears fast with a big, thirsty crowd, so for a large party plan on two — one tea, one water — or a mid-afternoon refill. For a family-sized gathering it’s plenty. Pair it with a cooler of ice for cans and bottles and drink logistics are handled.
The rest of the serving station is simple but easy to forget on the day: a cooler with plenty of ice, a bottle opener, sturdy plates and napkins, and a roll of paper towels within reach of the grill. Set the drink dispenser and cooler away from the cooking zone so there’s no crowd forming right where you’re working.
Cleanup & the morning after
The cookout isn’t over when the last burger comes off — it’s over when the grill is clean and you’re not dreading the next morning. Two minutes of scraping while the grate is still warm saves you a scrubbing session later, so a good grill brush is the last tool on my essential list.
Bristle-Free Grill Brush & Scraper (18″) — Best for Cleanup
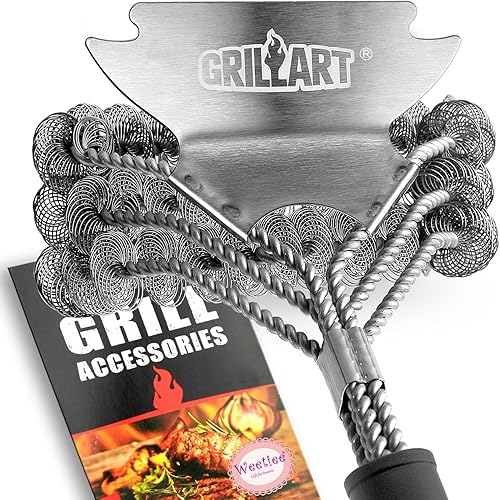
Bristle-free designs exist because of one too many stories about loose wire bristles ending up in food, and once you switch, it’s hard to go back to wire. The tight stainless coils scrub the grate clean without shedding anything, the 18-inch handle keeps knuckles off a hot grill, and the built-in scraper edge handles the stubborn baked-on spots the coils skip. It’s built to hold up to a full season of hot-grate scrubbing without deforming. The one honest trade-off is that on heavy, carbonized buildup the coils take more passes than an aggressive wire brush would — but that’s the safety trade worth making. For routine end-of-cook cleaning, it’s exactly right.
Finish the cleanup kit with heavy-duty trash bags (and a separate one for recycling), a few food-storage containers for leftovers, and dish soap and a sponge for the tools. Scrape the grate warm, bag the trash before you sit down, and box up leftovers the right way — future-you will be grateful.
The 25-item 4th of July cookout checklist
Here’s the whole thing in one scannable list. Print it, screenshot it, or shop straight down it.
- Fire & fuel: 1) Chimney starter · 2) Charcoal or pellets · 3) Long matches or lighter · 4) Fire-starter cubes · 5) Spray bottle for flare-ups
- Core grilling tools: 6) Long tongs · 7) Thin-edged spatula · 8) Basting brush · 9) Heat-resistant grill gloves · 10) Heavy-duty aluminum foil · 11) Disposable foil pans
- Temperature & safety: 12) Instant-read thermometer · 13) Fire extinguisher or baking soda · 14) Grill placed clear of the house
- Prep: 15) Extra-large cutting board · 16) Separate board for raw meat · 17) Chef’s knife · 18) Nesting mixing bowls · 19) Marinade/basting container · 20) Kitchen towels
- Serving, drinks & cleanup: 21) Large platters (raw and cooked kept separate) · 22) Drink dispenser · 23) Cooler with ice · 24) Bristle-free grill brush · 25) Trash and recycling bags
What you can skip for your first cookout
If you’re just starting out, ignore the gadget aisle. You do not need a rotisserie attachment, a laser thermometer, corn-cob holders, a dedicated pizza stone, or a fourteen-piece tool set where eleven pieces never leave the case. Plenty of great cookouts happen without any of them. Nail the five stations above first, throw a great party, and let your gear grow with your ambitions. If you do want to invest as your skills improve, my kitchen essentials guide maps out where the money is actually worth spending.
Frequently asked questions
How far ahead should I prep for a 4th of July cookout?
Do a deep clean of the grill and buy your fuel a couple of days before — running out of propane or finding a filthy grate on the day is the classic scramble. The morning of, set up all five stations, marinate proteins, cut fruit and veg, and stage serving platters. That way, when guests arrive, the only thing left is to light the fire and cook.
Charcoal or gas for a beginner?
Gas is more forgiving and faster to start, so if you’re nervous, it’s the lower-stress choice. Charcoal delivers more flavor and, with a chimney starter, isn’t nearly as fussy as its reputation suggests. Either works for a great cookout — pick the one that matches how relaxed you want to be, not what a purist tells you.
What are the safe internal temperatures for grilled meats?
As a factual reference, the USDA lists 165°F for chicken and poultry, 160°F for ground beef and burgers, and 145°F with a three-minute rest for whole cuts of beef, pork, and steaks. An instant-read thermometer is the only reliable way to hit these — color and firmness are guesswork.
How many tools do I really need?
Fewer than you’d think. If I had to strip the list to the bare minimum, it would be a chimney starter (for charcoal), tongs, a spatula, heat gloves, and an instant-read thermometer. Everything else on the 25-item list makes hosting smoother, but those five let you cook safely and well. Build out from there as you host more.
Have a great Fourth. Get the fire going early, keep the thermometer handy, and enjoy the party you worked to set up.
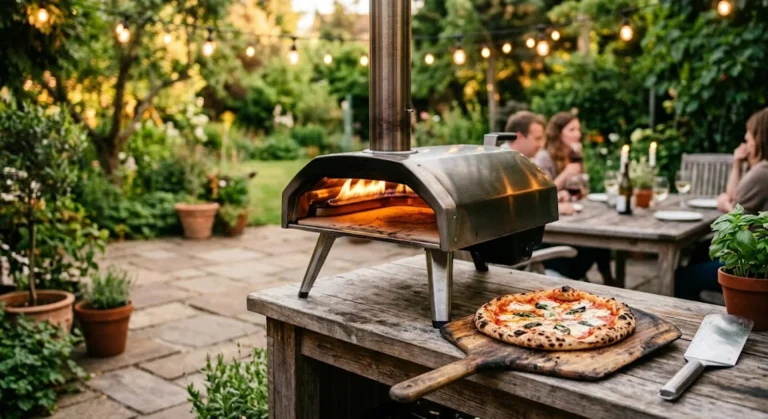
Want to add pizza to the cookout lineup? See my tested picks for the best outdoor pizza ovens under 0 — gas, wood, and electric.
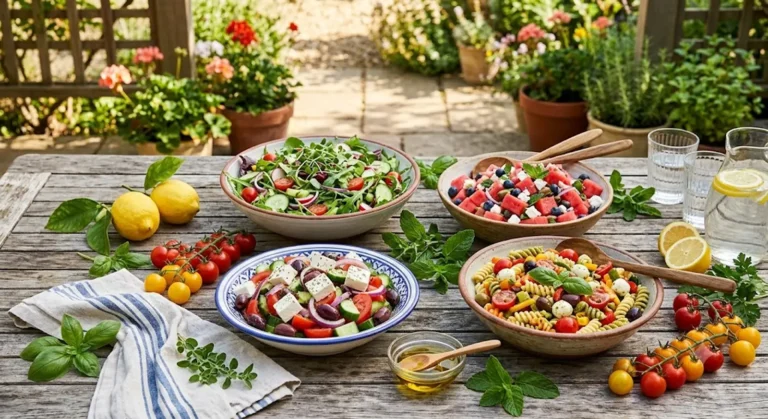
Rounding out the menu? Add a couple of no-oven summer salads — they hold up on a hot buffet table and balance out everything coming off the grill.
Packing a knife for the cookout? Here are the best outdoor knife sets for camping and picnics.