How to Season a Carbon Steel Pan: The 5-Step Method (No More Sticky Residue)
In brief: How to season a carbon steel pan comes down to five steps: strip the factory coating, dry the pan completely, wipe on a thin film of high-smoke-point oil, heat it until the oil polymerizes into a dark, slick layer, and repeat 3-5 times before your first real cook. Most failed attempts trace back to one mistake — too much oil, not too little heat.
If you just unboxed a bare or pre-seasoned carbon steel pan, or you’re staring at a blotchy, half-finished seasoning job from last weekend, this guide walks through the whole process — including the fixes for sticky, patchy, and flaking seasoning that most quick-reference cards skip entirely.
As an Amazon Associate, Kitchaneers earns from qualifying purchases made through links in this post.
Why Carbon Steel Needs Seasoning (and How It Differs From Cast Iron)
Carbon steel is mostly iron with a small amount of carbon (usually under 2%), rolled thin instead of cast in a mold. That makes it lighter and faster-heating than cast iron, but it also means the bare metal has zero natural nonstick properties and will flash-rust within minutes of sitting wet. Seasoning solves both problems: a thin layer of polymerized oil bonds to the microscopic pores in the metal, creating a slick, rust-resistant surface.
The chemistry is the same one behind the drying-oil finishes used on wood floors and oil paintings — heat converts a liquid oil into a solid plastic-like film through oxidation and cross-linking (more on the science at Wikipedia’s drying oil entry).
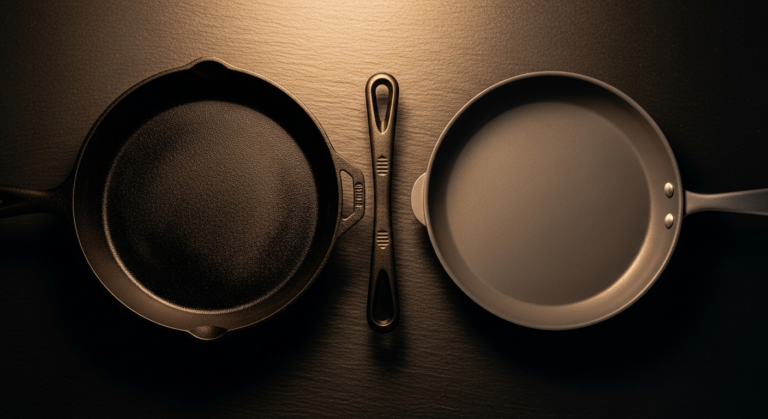
If you’re weighing carbon steel against the other classic option, our full cast iron vs. carbon steel skillet comparison breaks down heat retention, weight, and everyday cooking differences. The short version for seasoning purposes: carbon steel’s thinner, smoother surface bonds a usable layer faster (often in 3-4 cycles versus 5+ for a rough cast iron casting), but that same thinness means the seasoning also wears thin faster near the center of the cooking surface, so you’ll touch it up more often.
If you already own a cast iron skillet, the core technique in how to season a cast iron skillet will look familiar — strip, dry, thin oil, heat — but don’t assume the two pans are interchangeable care-wise. Cast iron’s rough, porous casting grips a thick seasoning layer and tolerates a slightly heavier oil hand; carbon steel’s smoother surface rewards a thinner film and more frequent light touch-ups instead of one heavy layer.
How to Season a Carbon Steel Pan: Step by Step
This is the core method — the same sequence works whether your pan is bare steel, pre-seasoned from the factory, or stripped back down after a bad seasoning attempt.
Step 1: Strip the Factory Coating
New carbon steel pans typically ship with a protective wax or oil film to prevent rust during shipping. Scrub the entire interior and exterior under very hot water with a stiff sponge or a chainmail scrubber until the waxy sheen is gone — this usually takes one to two minutes of real scrubbing, not a quick rinse. Run a dry finger across the surface; bare steel feels smooth, while any remaining wax will feel slightly tacky or “squeaky.”
If you’re reseasoning a used pan with rust spots or a flaking old layer, use steel wool or a chainmail scrubber to work it back down to bright, bare metal before continuing.
Step 2: Dry the Pan Completely
Bare steel will start to flash-rust within minutes if it’s left wet, especially around handle rivets and in the curve near the edges, where moisture hides. Towel-dry it, then set it on the stove over low heat for 60-90 seconds to drive off any last moisture you can’t see.
Step 3: Apply a Thin Oil Film
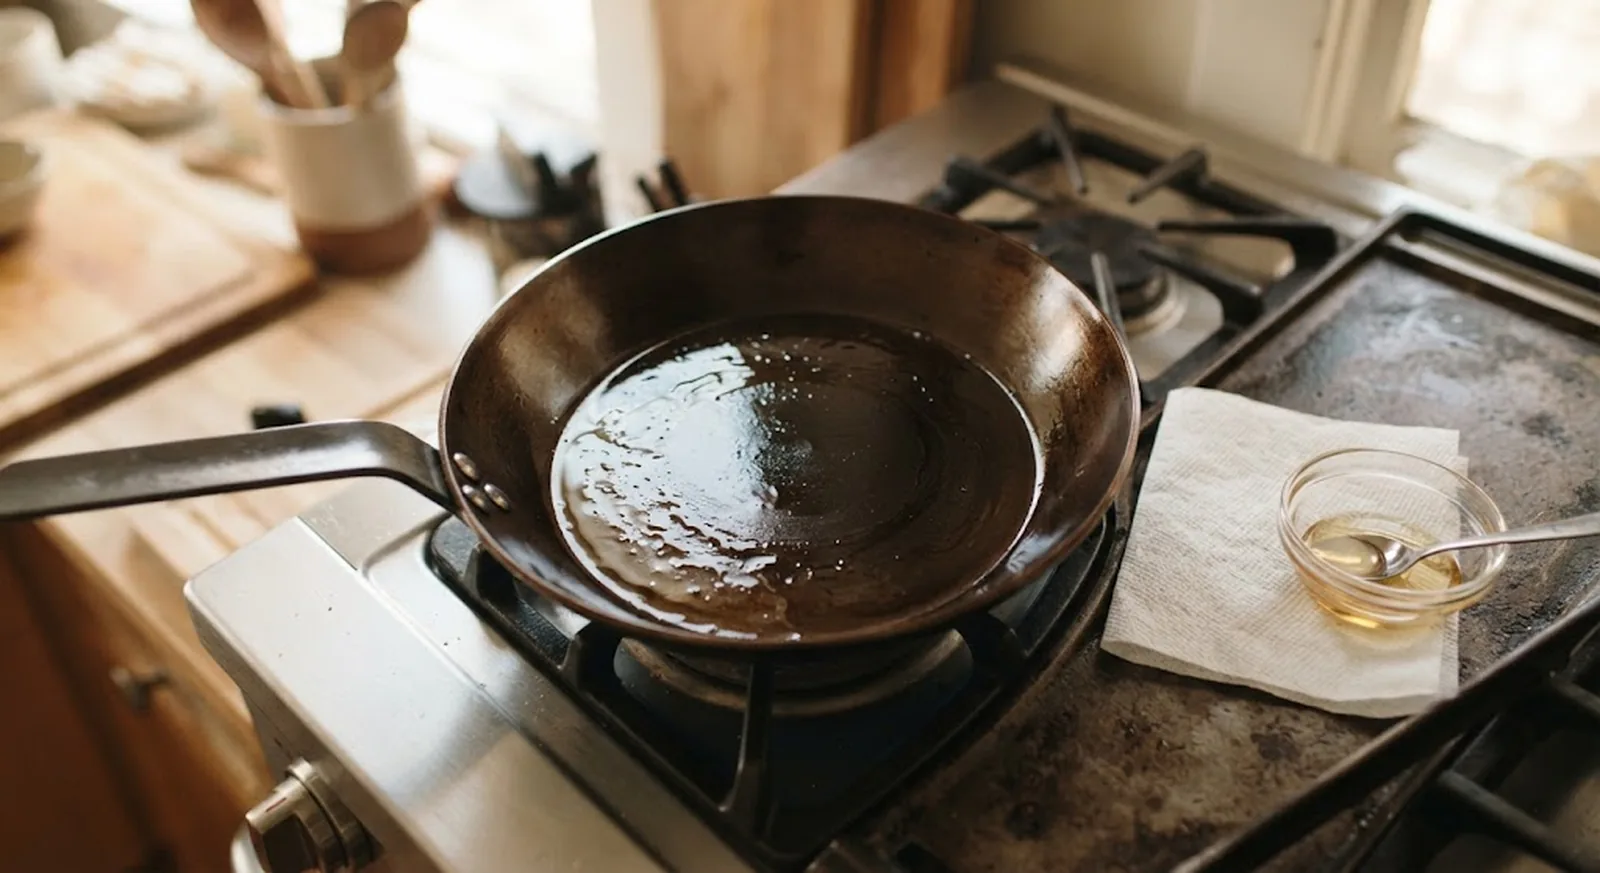
Use a neutral, high smoke-point oil — grapeseed, canola, sunflower, or refined avocado oil all work well. Skip olive oil and butter; their smoke points are too low and they polymerize unevenly. Pour a small amount onto a paper towel and wipe the entire pan (inside, outside, handle) until it looks almost dry, not glossy.
This is the single most common point of failure in how to season a carbon steel pan correctly: too much oil pools in low spots and never fully polymerizes, leaving a sticky film instead of a hard, slick layer. The goal is a film so thin you can barely see it.
Step 4: Heat Until the Oil Polymerizes
Two reliable methods, covered in detail in the next section:
- Stovetop: heat on medium until the oil just starts to smoke, hold for about 5 minutes, then kill the heat and let the pan cool completely on its own.
- Oven: place the pan upside down on a middle rack with foil underneath, bake at roughly 450-500°F for 45-60 minutes, then let it cool in the closed oven.
Either way, you’re watching for the surface to shift from shiny amber to a darker, matte brown-black.
Step 5: Repeat 3-5 Times
One cycle builds a thin, fragile layer. Repeating the thin-oil-and-heat cycle 3 to 5 times before you cook anything builds a layer durable enough to survive normal kitchen use — eggs, acidic sauces, metal utensils — without stripping back to bare metal on the first try.
Season Carbon Steel Pan in the Oven or on the Burner? Picking a Method
Both methods work; which one makes sense depends on your setup and how much hands-off time you want.
Choose the stovetop method if: you want a faster single cycle (5-10 minutes per round), you’re seasoning a smaller pan that heats evenly on a burner, or you don’t want to run your oven at high heat for an hour.
Choose the oven method if: your pan is large or has a long handle that’s awkward over a burner, you want more even heat across the whole cooking surface at once, or you’re building several seasoning layers back-to-back and would rather set a timer than babysit the stove.
A hybrid approach works well too: do the first strip-and-dry cycle on the stovetop to confirm the surface is clean, then switch to the oven for the 3-5 repeat cycles while you do other things.
Carbon Steel Pan Seasoning Mistakes (and How to Fix a Sticky or Blotchy Pan)
Even careful first attempts go wrong sometimes. Here’s how to read the symptoms.
Sticky or gummy surface. This is almost always too much oil, or oil that never reached a high enough temperature to fully polymerize before the pan cooled. Fix it by heating the pan until the gummy residue softens, scrubbing it off with hot water and coarse salt, drying thoroughly, and reseasoning with a noticeably thinner oil film than you used the first time.
Blotchy or uneven color. Splotches by themselves aren’t necessarily a failed seasoning — a surface that feels smooth and uniform to the touch is fine even if the color varies. True blotchiness (rough patches, not just color variation) usually comes from uneven oil application or inconsistent heat across the pan. The fix is the same either way: wipe the oil down to an almost-invisible film and heat more evenly, ideally in the oven where temperature is consistent across the whole surface.
Flaking or chipping seasoning. This points to a base layer that’s still too thin or was never fully polymerized. Gently scrub off the loose flakes, dry the pan, and keep cooking with it — a thin base layer firms up with repeated use, and the problem usually resolves itself within a few meals as additional seasoning cooks onto the spots that flaked.
Rust spots showing through. Scrub the rust out with steel wool back to bare metal in that spot, dry immediately, and spot-season just that area before returning the pan to regular use.
Food sticking to a seemingly good seasoning layer. This usually isn’t a seasoning problem at all — it’s a heat and fat problem. Carbon steel needs to come fully up to temperature before food goes in, and a thin layer of cooking oil or butter is still required even on a well-seasoned pan, the same way it would be with any skillet. Preheat for a full 2-3 minutes on medium before adding oil, and let the oil shimmer before the food goes in.
For a broader rundown of what else tends to go wrong across all your kitchen tools — not just carbon steel — our complete guide to kitchen tool care covers cast iron, knives, and nonstick cookware using the same strip-clean-protect logic.
Maintaining the Seasoning After Every Cook
Once the base seasoning is built, upkeep is quick:
- Clean with hot water and a soft sponge or brush; avoid soaking the pan or leaving it to air dry on its own.
- Skip the dishwasher and most dish soap — modern low-residue soap in small amounts won’t strip a well-bonded seasoning, but repeated harsh scrubbing or a dishwasher cycle will.
- Dry the pan on the stove over low heat for a minute, then wipe on a few drops of oil with a paper towel before storing.
- Cook a few fattier meals (bacon, a seared steak, pan-fried potatoes) in the first week — the extra oil from the food itself helps thicken the seasoning layer faster than dedicated seasoning cycles alone.
- Expect to do a quick touch-up seasoning cycle every few months, or sooner if you notice the center of the pan going dull or slightly sticky.
A note on acidic food. A fully cured seasoning layer handles the occasional tomato-based pan sauce or a squeeze of lemon at the end of cooking just fine. What it doesn’t handle well is a long simmer — 20+ minutes of acidic liquid sitting against freshly built seasoning can strip a thin or new layer back toward bare metal. Save long-simmered tomato sauces and braises for a stainless or enameled pot until your carbon steel pan has several months of regular cooking behind it.
Carbon Steel Pans Worth Seasoning
If you’re shopping before you season, these three come up constantly in verified-purchase reviews for how they take and hold a seasoning layer.

de Buyer Mineral B Pro Carbon Steel Fry Pan (11″) — ships with a beeswax coating rather than a factory preseasoning, which means you’re seasoning true bare steel from the first cycle. Reviewers consistently note it takes seasoning fast and evenly thanks to its smooth, machine-finished surface. Honest downside: the iron handle gets hot on the stovetop, so a towel or glove is non-negotiable.

Lodge Pre-Seasoned Carbon Steel Skillet (12″, Long Handle) — arrives with a factory seasoning layer already on, so it’s cookable out of the box, but most owners still run one or two extra oil-and-heat cycles at home to build a sturdier base before heavy use. Budget-friendly relative to the French and German brands. Honest downside: the factory seasoning is thinner than a hand-built layer, so expect to touch it up sooner.
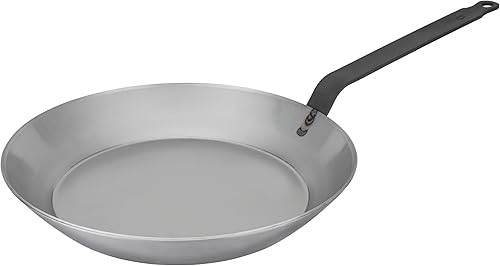
Matfer Bourgeat Black Carbon Steel Frying Pan (11″) — a longtime professional-kitchen pick known for a slightly rougher starting surface that, once seasoned, holds an exceptionally durable layer. Reviewers who season it properly report it outlasting nonstick coatings many times over. Honest downside: the rougher starting texture means it takes a cycle or two longer to season smooth compared to the de Buyer.
FAQ
Do I need to season a carbon steel pan every time I cook?
No. A properly built seasoning layer holds up through normal cooking and cleaning. You only need a full reseason if the surface is stripped back to bare metal, or a light touch-up cycle every few months as maintenance.
Can I use olive oil to season a carbon steel pan?
It’s not ideal. Olive oil’s lower smoke point means it can burn and go gummy before it fully polymerizes. Stick to a neutral, high smoke-point oil like grapeseed, canola, or refined avocado oil.
Why is my carbon steel pan sticky after seasoning?
Almost always too much oil was applied, or the oil didn’t reach a high enough temperature to fully polymerize. Scrub the residue off with hot water and coarse salt, dry thoroughly, and reseason with a much thinner oil film.
How many times should I season a new carbon steel pan?
Plan on 3 to 5 full cycles before regular cooking. Each cycle builds on the last, and the pan’s color should get noticeably darker and more even with each round.
Can I put a carbon steel pan in the dishwasher?
No. Dishwasher detergent and prolonged soaking will strip the seasoning layer. Hand wash with hot water, dry promptly, and apply a thin oil coat before storing.
Is seasoning a carbon steel pan different from seasoning cast iron?
The steps are the same, but carbon steel’s thinner, smoother metal bonds a usable layer in fewer cycles — often 3-4 instead of 5 or more for a rough cast iron casting. The tradeoff is that carbon steel’s seasoning also wears down faster in daily use, so it needs more frequent light touch-ups rather than one thick, long-lasting layer.
Key Takeaways
- Strip the factory wax coating completely before the first seasoning cycle — leftover wax causes patchy results.
- Dry the pan fully before applying oil; trapped moisture is a common cause of uneven bonding.
- A thin oil film beats a thick one every time — excess oil is the #1 cause of sticky seasoning.
- Both stovetop and oven methods work; the oven gives more even heat for larger pans.
- Plan on 3-5 seasoning cycles before heavy daily use, plus occasional touch-ups every few months.
- Sticky, blotchy, or flaking seasoning is almost always fixable by scrubbing back and reseasoning thinner.
- Skip the dishwasher and harsh scrubbing — hand wash, dry, and oil lightly after every use.